Landscape Products
Verazzo Stone - 1 piece

OVERVIEW
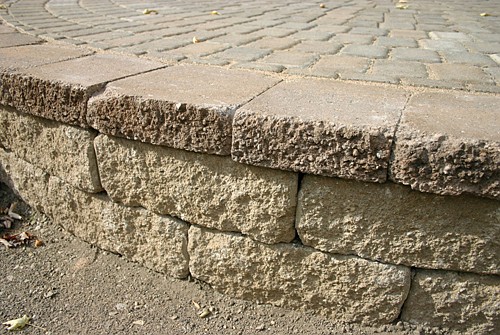
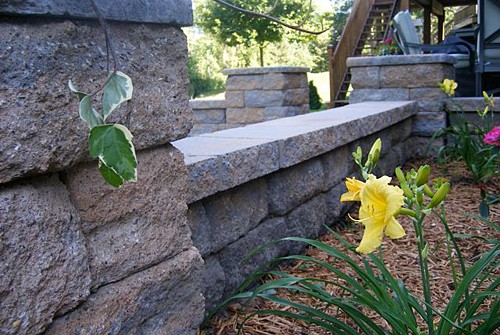
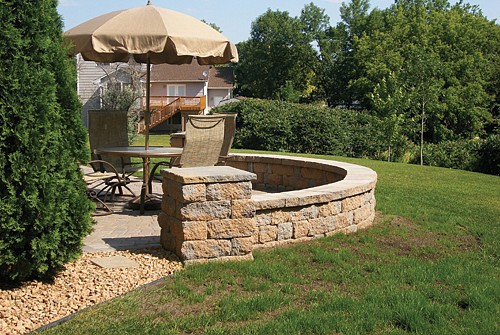
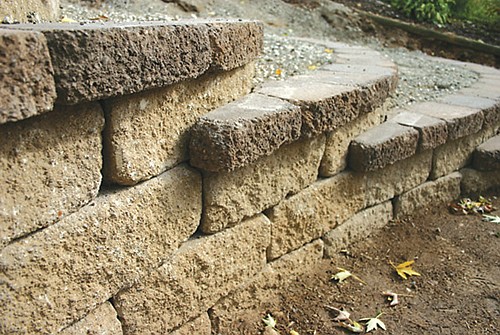
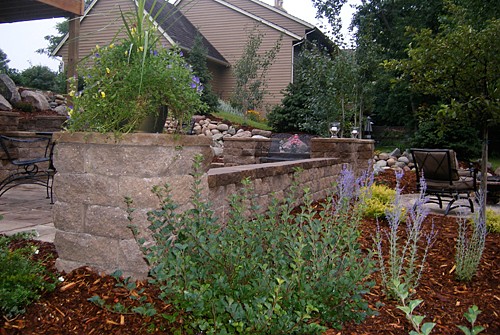
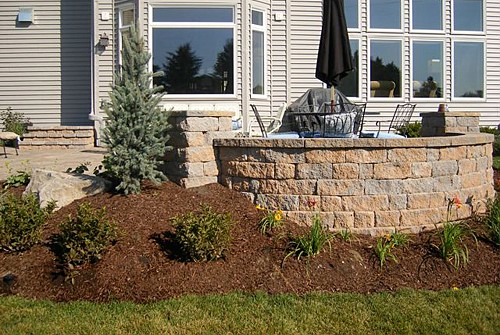
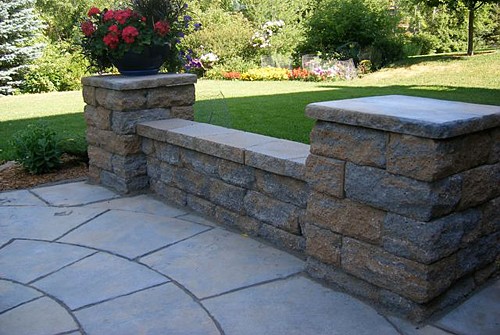
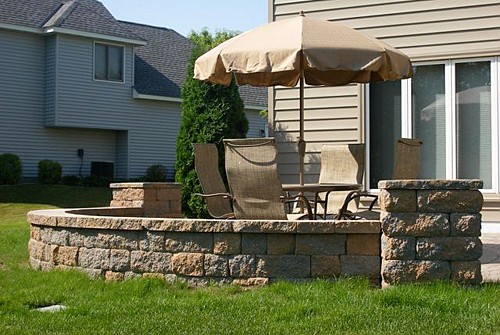
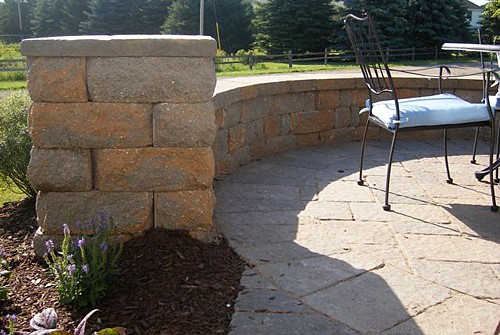
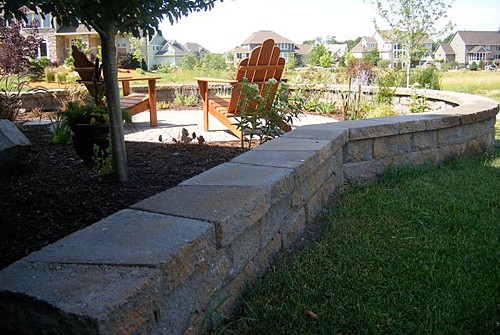
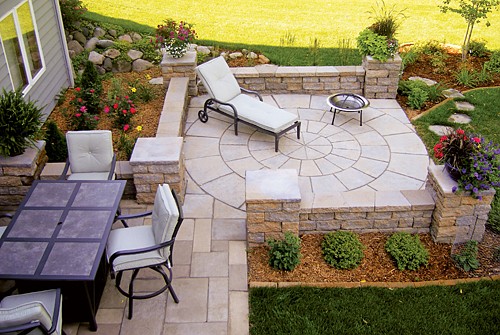
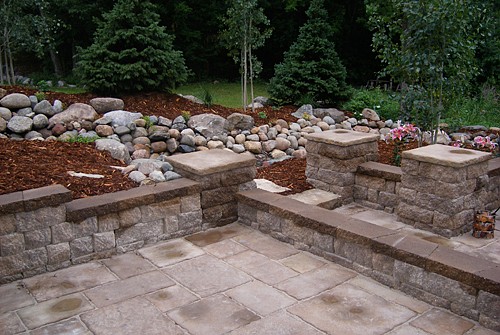
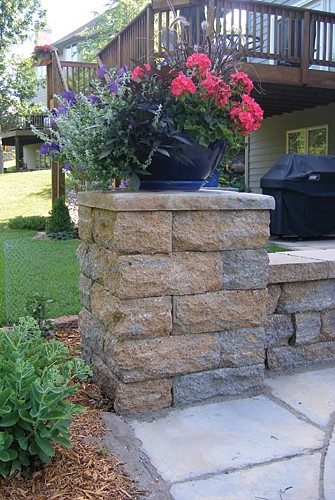
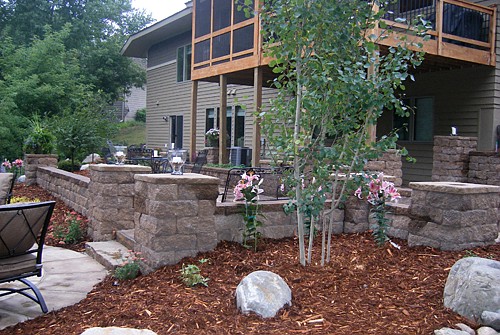
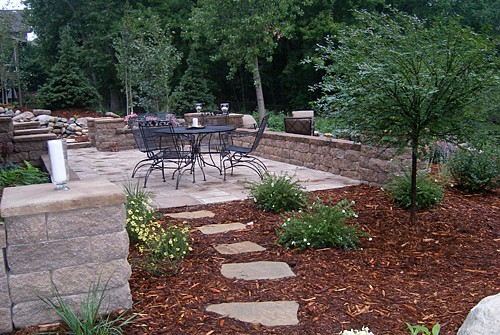
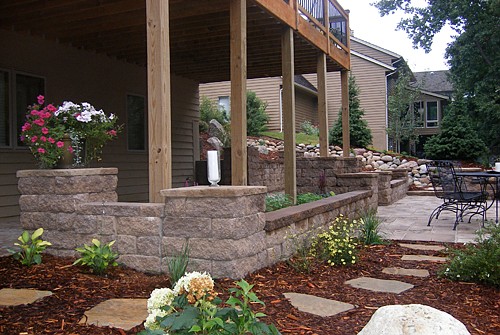
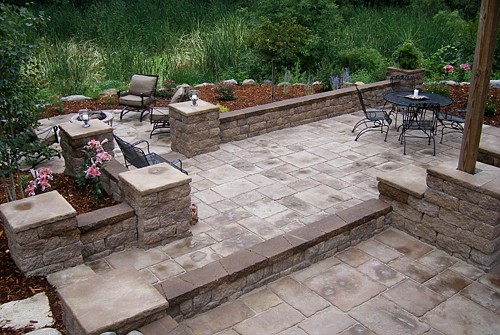
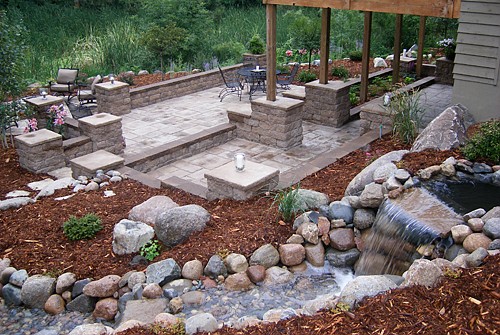
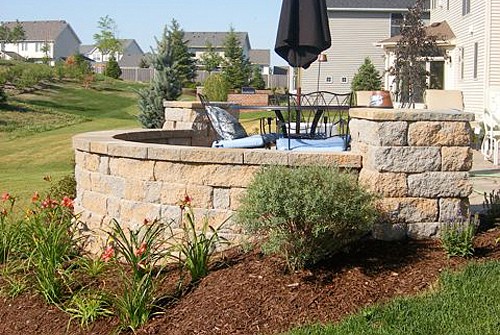
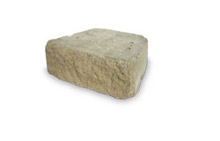
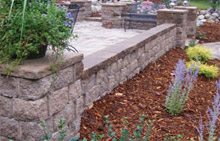
Keystone Verazzo StoneT is finished on two sides, allowing both 1- and 2-sided project designs. It features a natural stone look without the natural stone price and enhances any outdoor d�cor with natural colors and textures.
SPECIFICATIONS
| |
unit specifications |
| height |
6" |
| width |
12/16" |
| depth |
10-1/2"
|
| weight |
68lbs |
| pins |
yes |
Product size, weight, color and product availability varies by location. Please contact your local manufacturer for up-to-date product information.
 |
 |
| shown in vertical position |
shown in setback position |
ESTIMATING
Use this guide for estimating the number of Keystone Verazzo Stone units required.
| WALL HEIGHT |
WALL LENGTH (measured at wall face including curves) |
| 6' |
12' |
18' |
24' |
30' |
36' |
| 6" (1 course) |
5 |
9 |
14 |
18 |
23 |
27 |
| 12" (2 courses) |
10 |
18 |
28 |
36 |
46 |
54 |
| 18" (3 courses) |
15 |
27 |
42 |
54 |
69 |
81 |
| 24" (4 courses) |
20 |
36 |
56 |
72 |
92 |
108 |
| 30" (5 courses) |
25 |
45 |
70 |
90 |
115 |
135 |
| 36" (6 courses) |
30 |
54 |
84 |
104 |
138 |
162 |
| |
Maximum Height Vertical Position |
|
Maximum Height Setback Position |
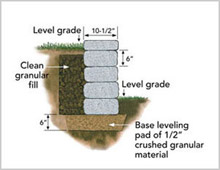
- Maximum wall height not to exceed 36". The maximum height is based on a level grade, total granular soil, wall built-in setback position, and no surcharge. Contact your local Keystone representative for design options on wall heights exceeding 36" or supporting surcharges and backslope
- Change in color on the chart denotes the maximum wall height for vertical and setback positions.
- Keystone recommends cap units as the top course and/or caps of freestanding walls secured with Keystone KapSealT adhesive.
INSTALLATION
 |
 |
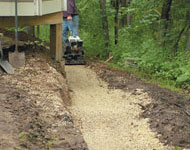
| STEP ONE | Prepare the Site |
STEP TWO | Set Base Course |
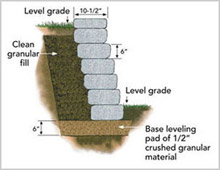
| Start by digging a shallow trench 12" deep by 24" wide. Cut through and remove any sod, roots or large rocks. Place a 6" leveling pad of compacted sand or gravel in the trench to receive the first course of Keystone Verazzo Stone. |
Place and level the first Keystone Verazzo Stone unit. Level each additional unit on the base course as you place it, making sure that the outside edges touch. If your wall contains both straight and curved areas, start with a straight area and build into the curves. Complete the base course before proceeding to the second course. |
 |
* Note: For straight line walls, unit faces can be alternated to create a more random look. |
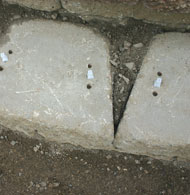
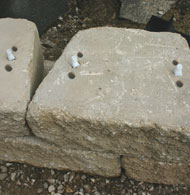
STEP THREE | Pin, Stack & Fill |
| Starting with straight areas first, begin placing the second course. Center each Keystone Verazzo Stone unit over the pins on the joints of the course below in a running bond pattern as shown. Now proceed to the next layer, backfilling as you go. For drainage between units and behind the wall, clean gravel or crushed stone is recommended. |
Click on the images below to view a larger display.