Landscape Products
Legacy Stone
![]()
OVERVIEW
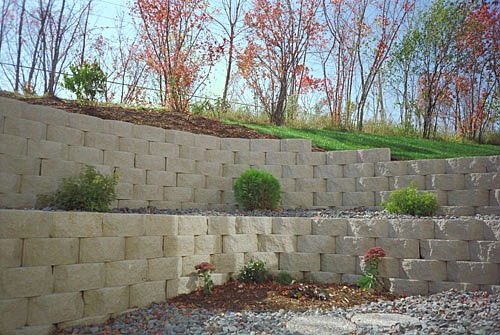
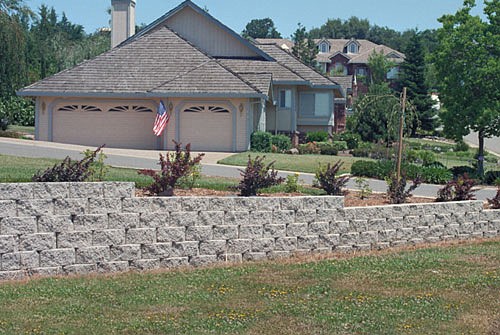
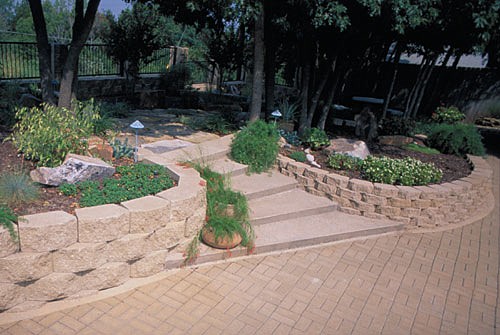
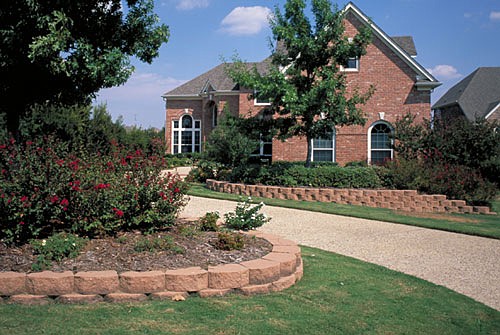
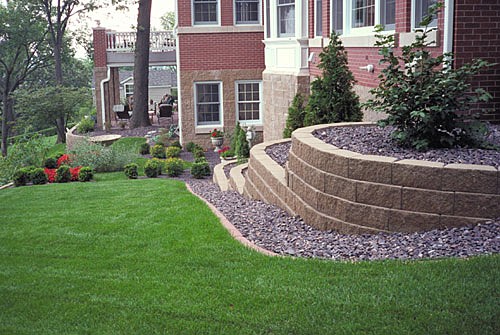
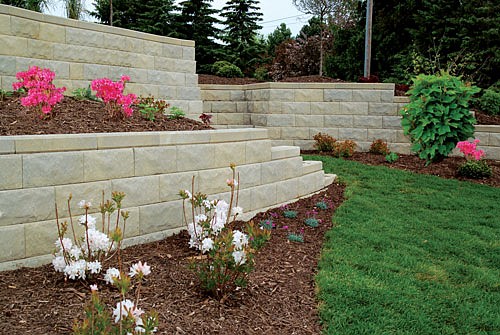
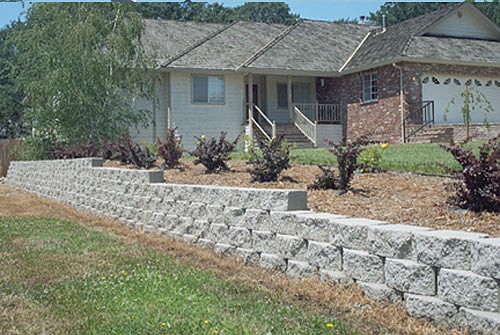
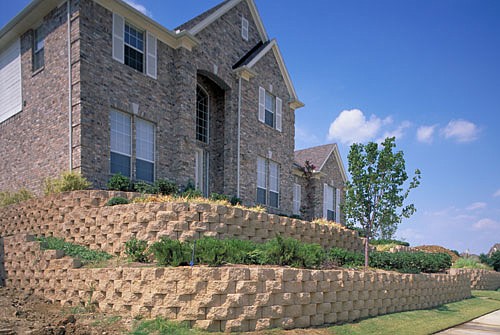
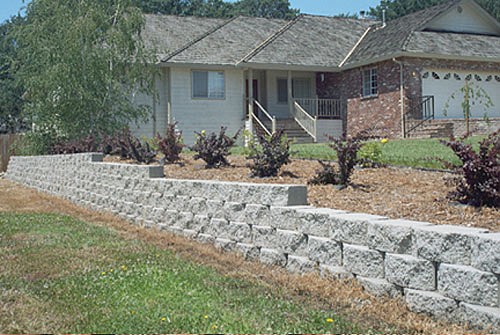
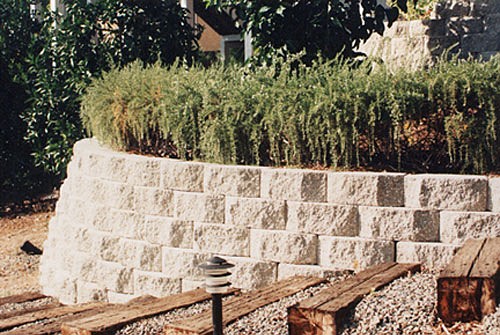
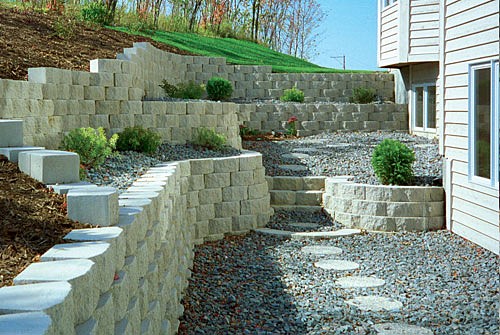
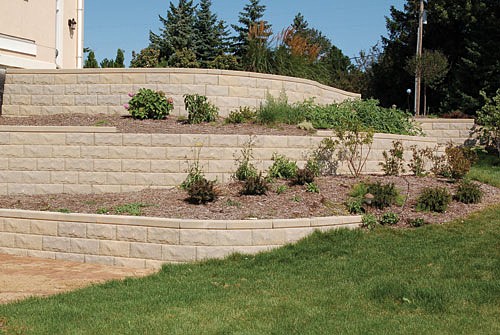
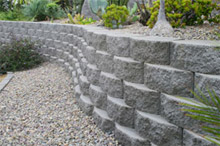
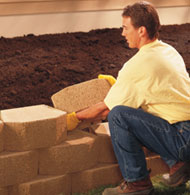
Enhance the beauty of your landscape with Keystone Legacy Stone! Perfect for the do-it-yourselfer, Legacy Stone is made of high-strength, low-absorption concrete that provides a permanent, environmentally safe retaining wall option. The rewards of installing Legacy Stone will last for many years. No special tools are required. Keystone Legacy Stone is also known as Rampart in certain areas of the country.
 |
 |
 |
SPECIFICATIONS
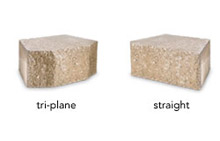
| tri-plane | straight | hewn | |
| height | 6" | 6" | 6" |
| width | 16" | 16" | 16" |
| depth | 10-3/8" |
10-3/8" | 10-3/8" |
| weight | 50lbs | 50lbs | 50lbs |
Product size, weight, color and product availability varies by location. Please contact your local manufacturer for up-to-date product information.
 |
 |
| *Maximum wall height = 3 feet | |
ESTIMATING
Use this guide for estimating the number of Keystone Legacy Stone units required.
WALL HEIGHT* |
WALL LENGTH (measured at wall face including curves) | |||||
| 6' | 12' | 18' | 24' | 30' | 36' | |
| 6" (1 course) | 5 | 9 | 14 | 18 | 23 | 27 |
| 12" (2 courses) | 10 | 18 | 28 | 36 | 46 | 54 |
| 18" (3 courses) | 15 | 27 | 42 | 54 | 69 | 81 |
| 24" (4 courses) | 20 | 36 | 56 | 72 | 92 | 108 |
| 30" (5 courses) | 25 | 45 | 70 | 90 | 115 | 135 |
| 36" (6 courses) | 30 | 54 | 84 | 104 | 138 | 162 |
*Please Note:
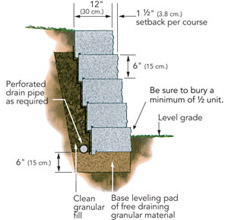
The Keystone Legacy units were designed for unreinforced wall heights no greater than 3'-0" (91 cm) high with compacted sand or gravel backfill and level grade above and below the wall. The design assumes no surcharge loads. Wall height is measured from the top of leveling pad. The estimating chart provides the number of units based on the selected height and length of the wall. For taller wall applications, contact your local KEYSTONE Representative for design, product and reinforcing options.
INSTALLATION
 |
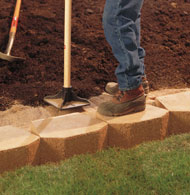 |
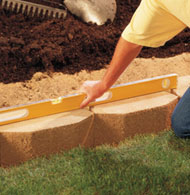
| STEP 1 | Prepare the leveling pad and set the base course. | STEP 2 | Place & compact backfill material. |
| Dig a shallow trench for the wall base. Place granular leveling pad material. Compact and level the base pad. Place and level the first-course units. If grade changes along the base of the wall, create a stepped leveling pad as required. Always start the wall at the lowest elevation, working to the highest. Complete the base course before proceeding with additional courses. | Backfill first course units with clean granular fill material (i.e. crushed stone/gravel). DO NOT USE PEA GRAVEL! Compact with a hand tamper or appropriate mechanical tor. Backfill and compact behind each course before installing additional courses. |
 |
Remove Edges - To remove outside lugs or edges of the retaining lip, hold the unit securely or place it at an angle on the ground. Strike the lug firmly with a hammer. Cutting the units may also be necessary to keep them on bond. Always wear safety glasses to protect the eyes from chips. |
| STEP 3 | Install additional courses. | |
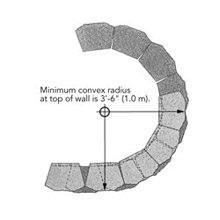
| Starting at the straight wall area, place units centered over a joint of units below to form a running bond pattern. Build through curves in a similar manner.
Note: At curves, (convex & concave) course bonding will adjust sideways. If stack bond occurs, remove the rear interlock lip as shown or cut units accordingly to get back to running bond. | |
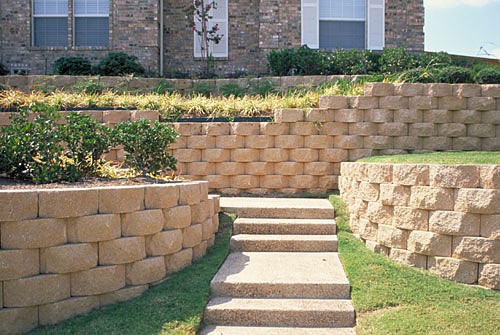
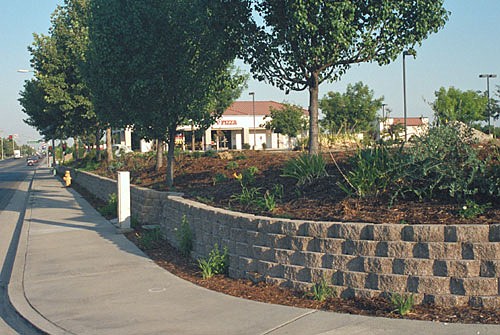
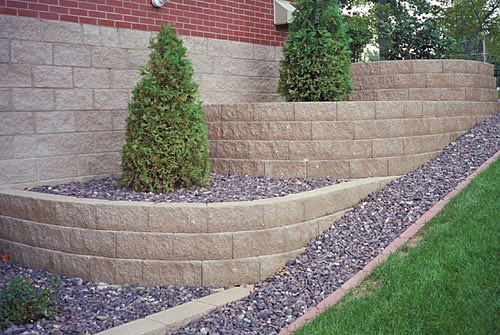
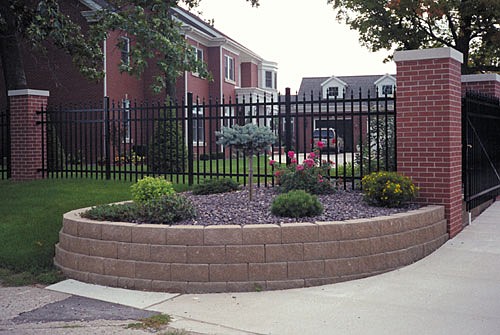
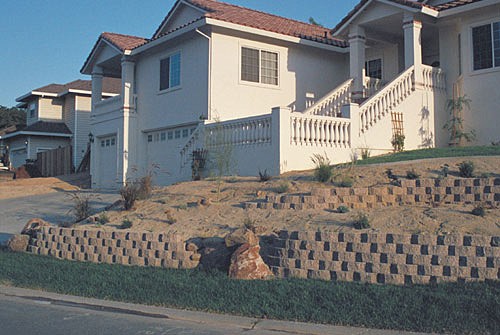
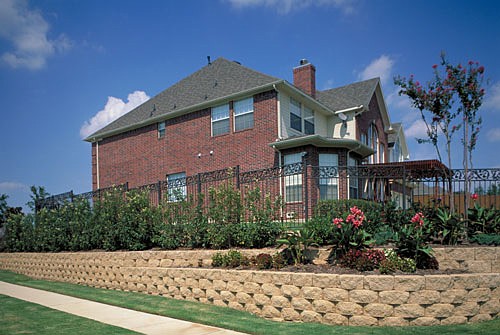
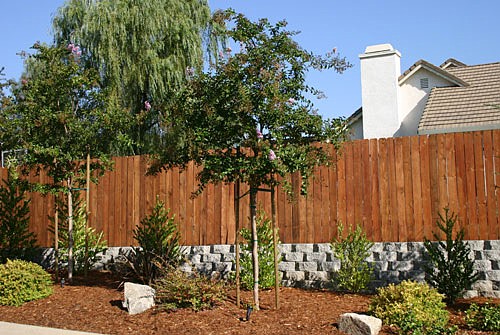
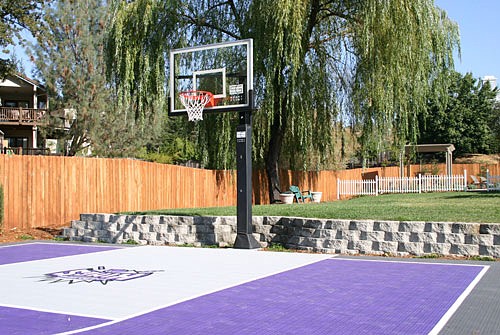
Click on the images below to view a larger display.
|